Please find the English version below ↓
Vuoden lähestyessä loppuaan ajatukset kääntyvät hiljalleen kohti joulua. Joulua kohti -sarjassa on luvassa onnellisia ompeluprojekteja, joita voi joulun alla toteuttaa omaksi tai toisten iloksi.
Kolmantena nopeana mutta kivana ompeluprojektina on helppo rusetti.
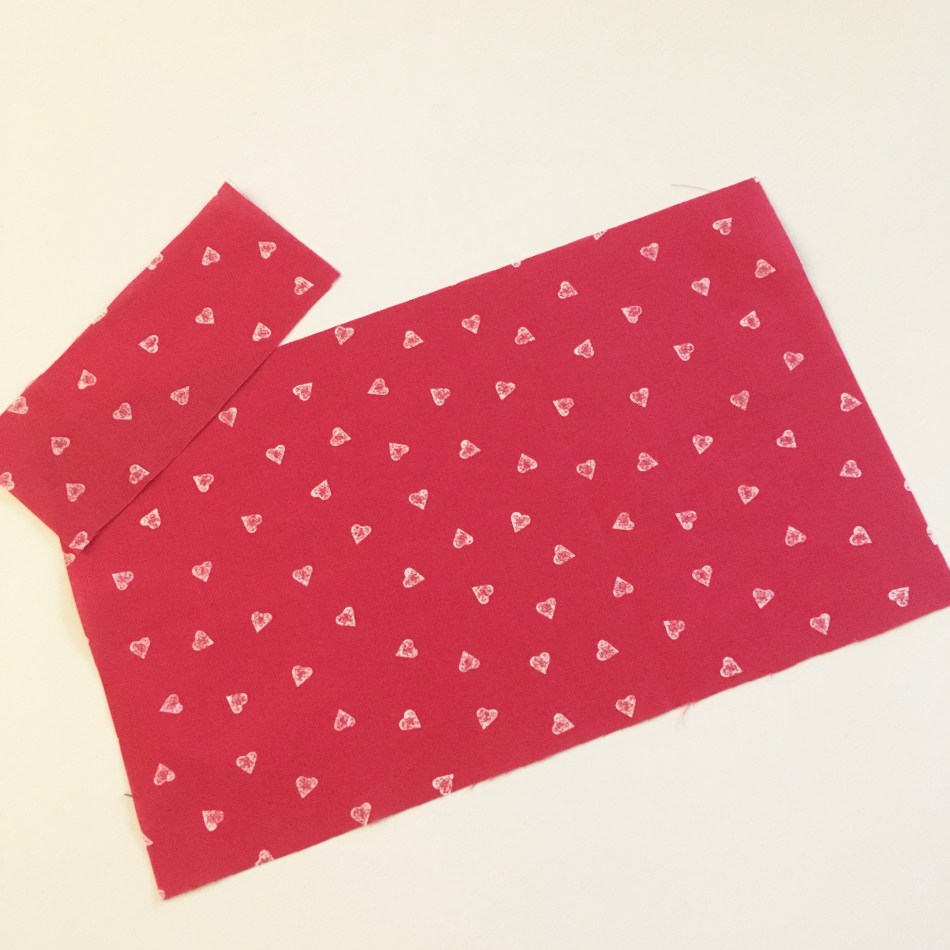
Rusetin teko aloitetaan leikkaamalla kaksi suorakulmion muotoista kangaspalaa. Suurempi muodostaa rusetin ja pienempi kiedotaan sen ympärille. Omaa rusettiani varten leikkasin palat, joiden koot olivat 30×18 cm ja 15×6 cm.
Ota ensin suurempi pala ja taita se pituussuunnassa kahtia, oikeat puolet vastakkain. Ompele pitkät sivut yhteen noin 1 cm saumanvaralla. Silitä saumavarat auki.

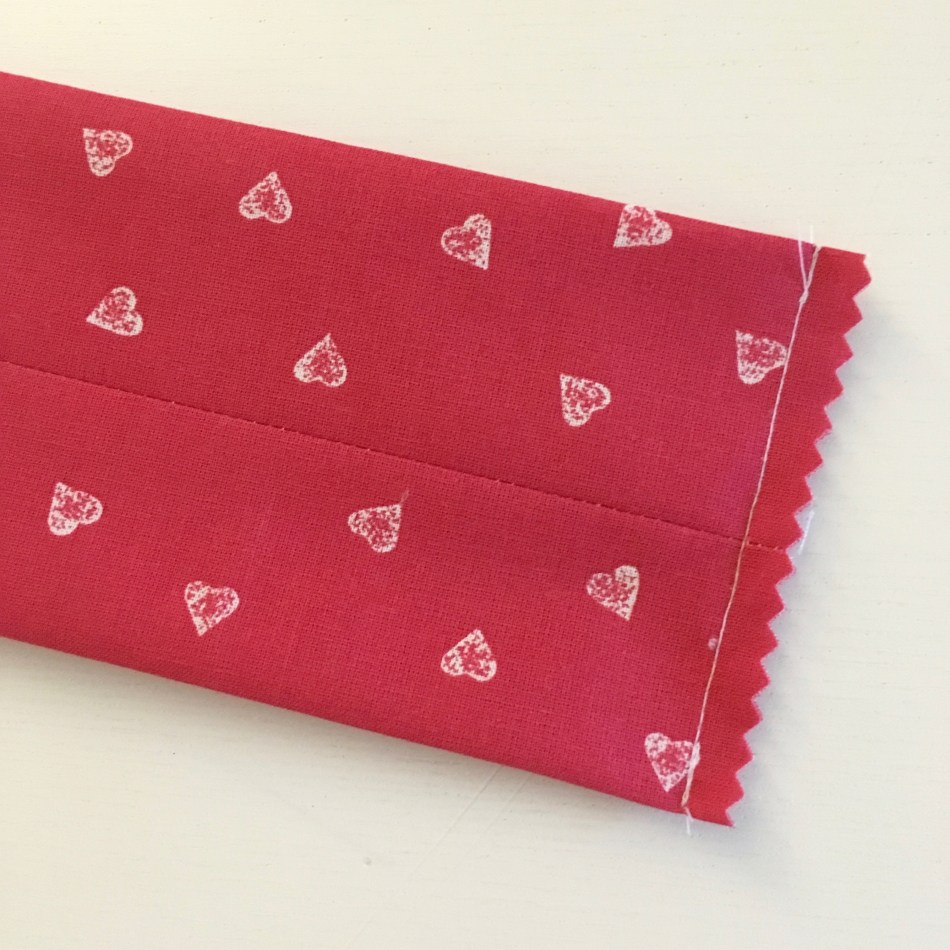
Käännä kangas nyt oikea puoli ylöspäin ja asettele se siten, että sauma on toisella puolella keskellä suorakulmiota.
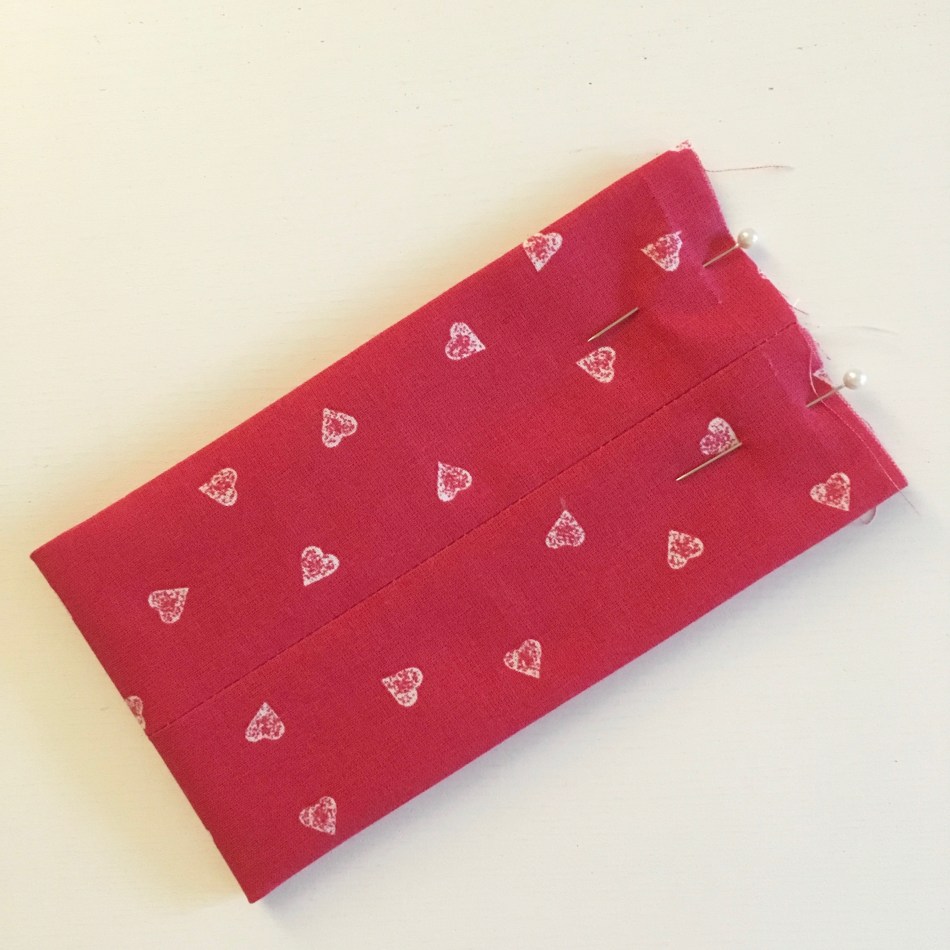
Taita nyt tämä kangasputki kahtia siten, että auki olevat päädyt kohtaavat. Saumapuolen tulisi nyt näkyä päällä. Kiinnitä parilla nuppineulalla.
Ompele lyhyet päät yhteen noin 1 cm saumanvaralla. Tässä vaiheessa voit leikata saumanvarat pienemmiksi vaikkapa harkkosaksilla tai viimeistellä ne yhteen saumurilla. Viimeistely ei kuitenkaan ole välttämätöntä.
Silitä tämäkin sauma auki ja käännä sitten työ oikein päin eli saumat jäävät rusetin sisälle.

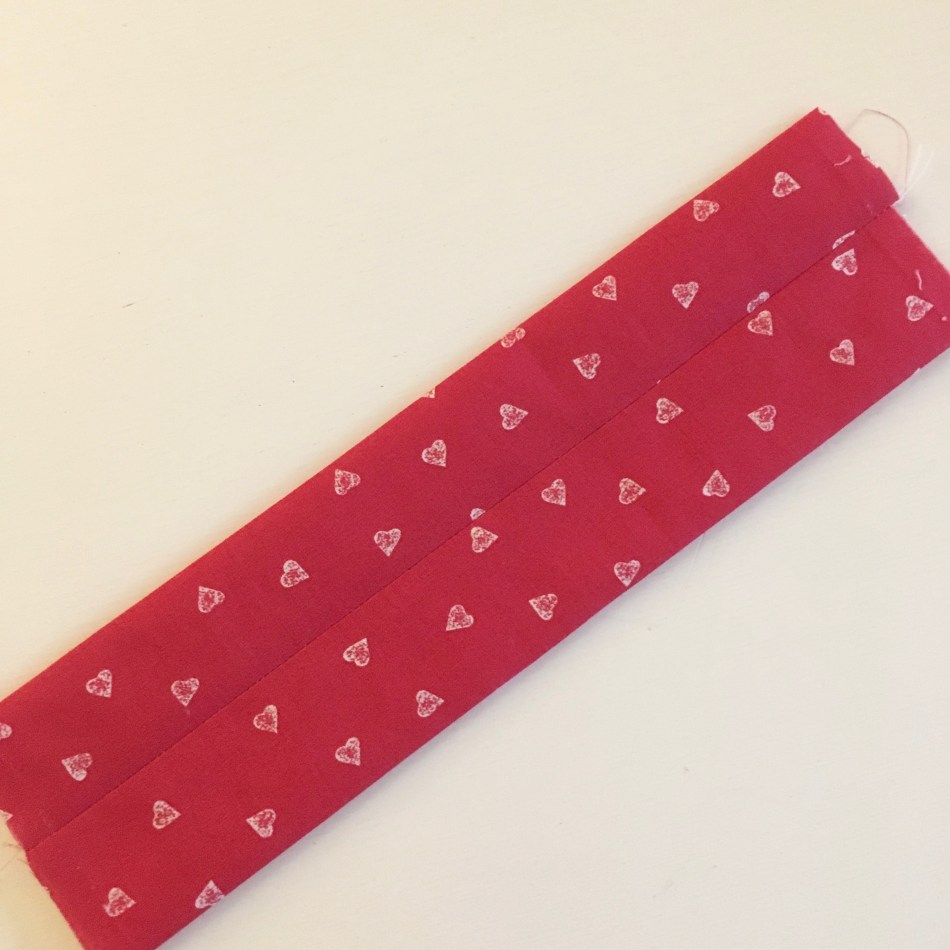
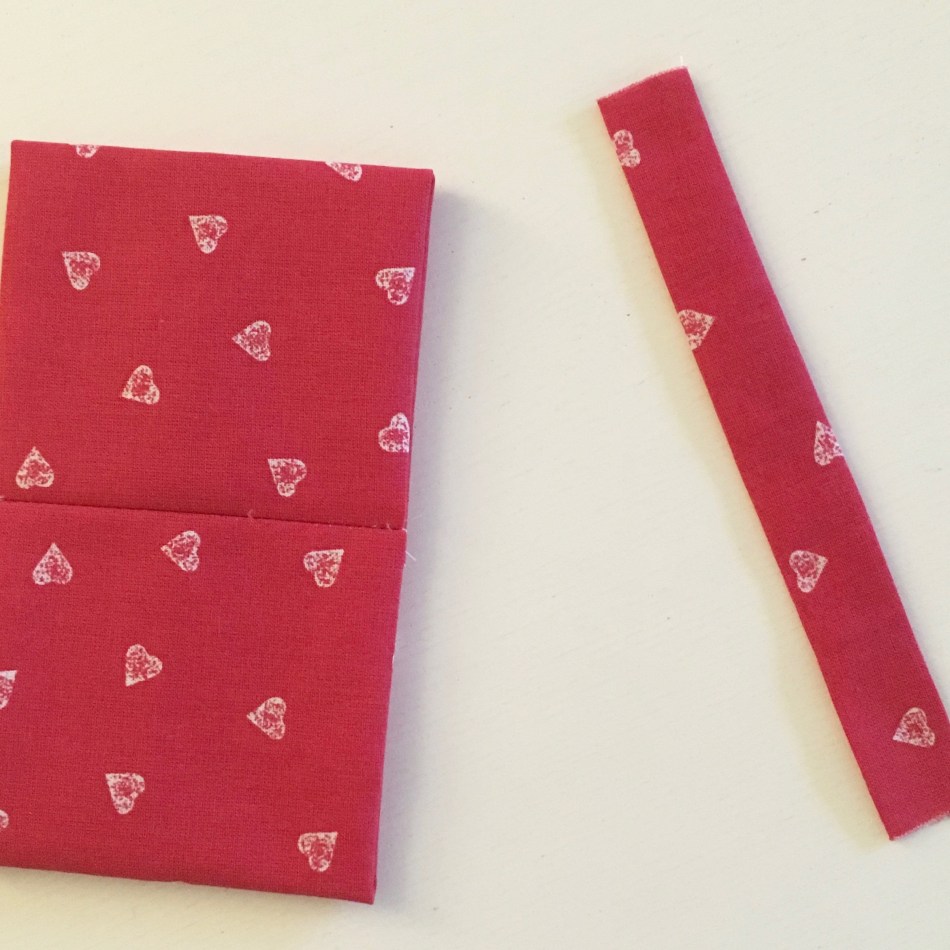
Tässä välissä on kätevää valmistella myös pienempi kappale. Ota siis pienempi leikkaamasi suorakulmio ja ompele sen pitkät sivut yhteen, oikeat puolet vastakkain.Käännä putkilo ympäri ja silitä litteäksi. Tässä voit itse päättää sijoitatko sauman putkilon keskelle vai sivulle.
Nyt edessäsi pitäisi olla tämän näköiset kangaskappaleet.
Seuraava vaihe on muodostaa suuremmasta kappaleesta rusetin mallinen. Tätä tarkoitusta varten tarvitset neulan ja ompelulankaa. Tee langan toiseen päähän solmu.
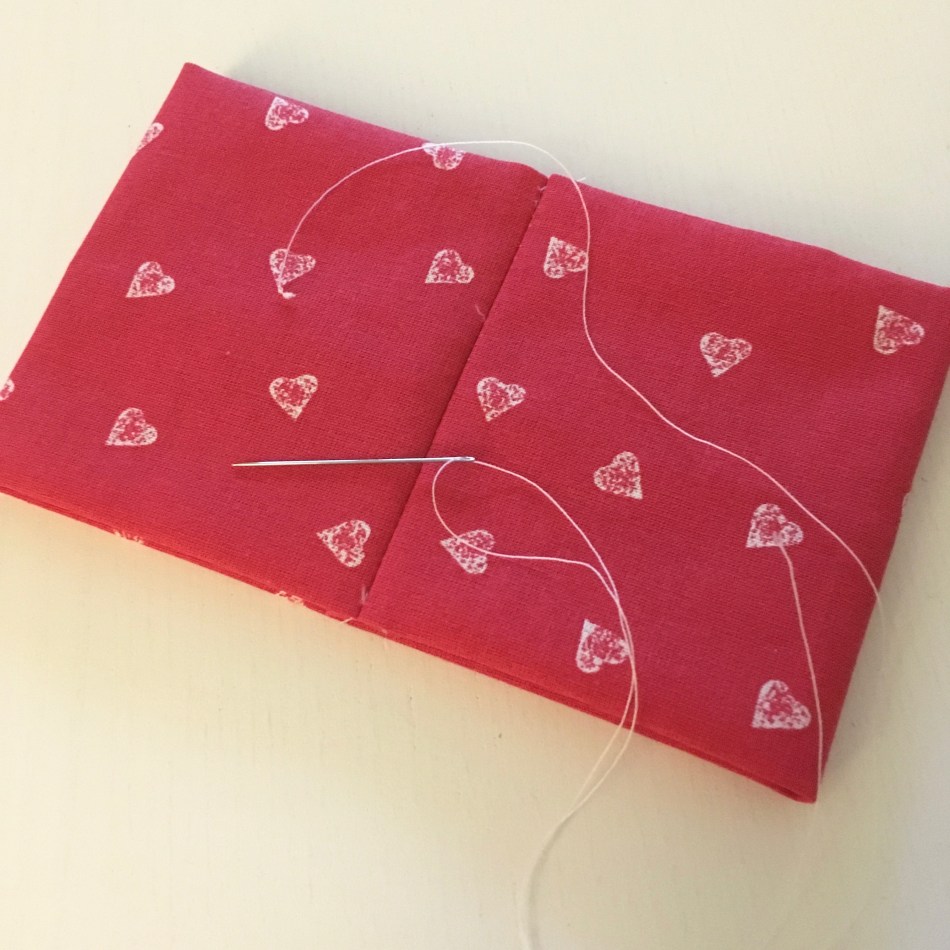
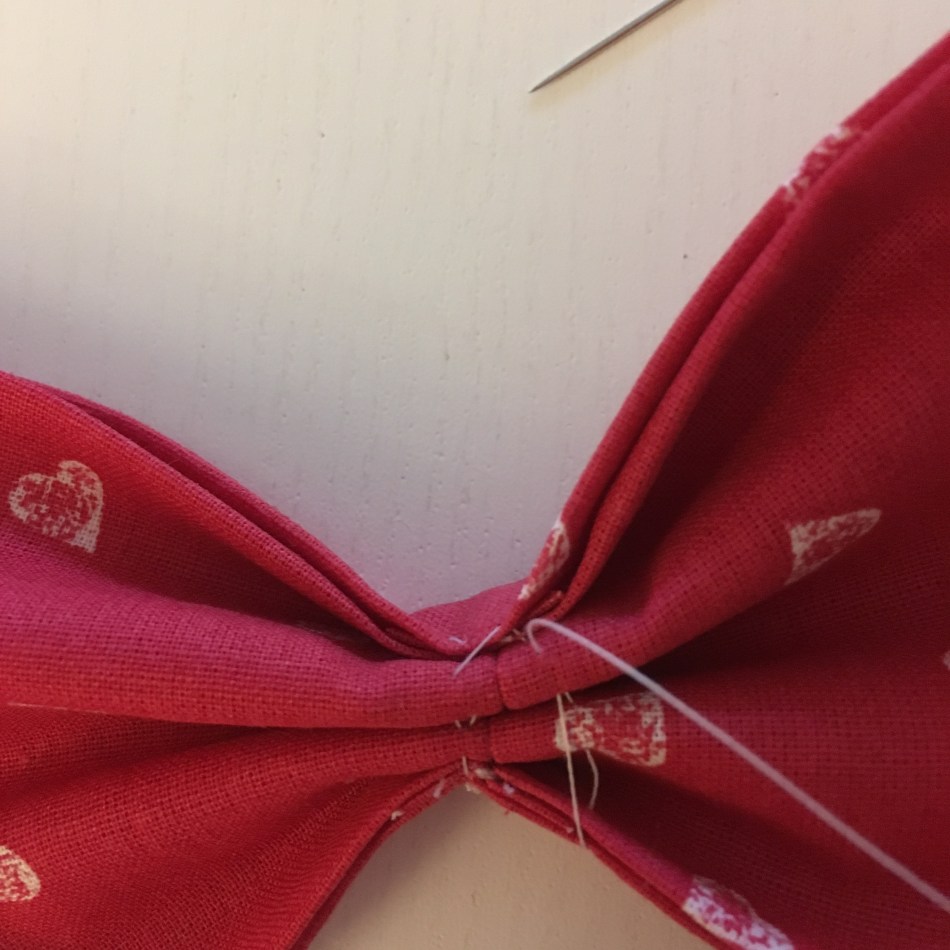
Kangas saa rusetin muodon kun se kootaan keskeltä kasaan. Ompele rusetin keskelle, aivan sauman viereen muutama pitkä pisto. Pistot tehdään kaikkien kangaskerrosten läpi eli ne näkyvät kummaltakin puolelta katsottuna. Kokemukseni mukaan rusetista tulee kauniimpi kun pujotat langan ensin rusetin oikealta (eli puoli jossa ei ole saumaa) puolelta nurjalle ja myös viimeinen pisto päättyy oikealle puolelle.
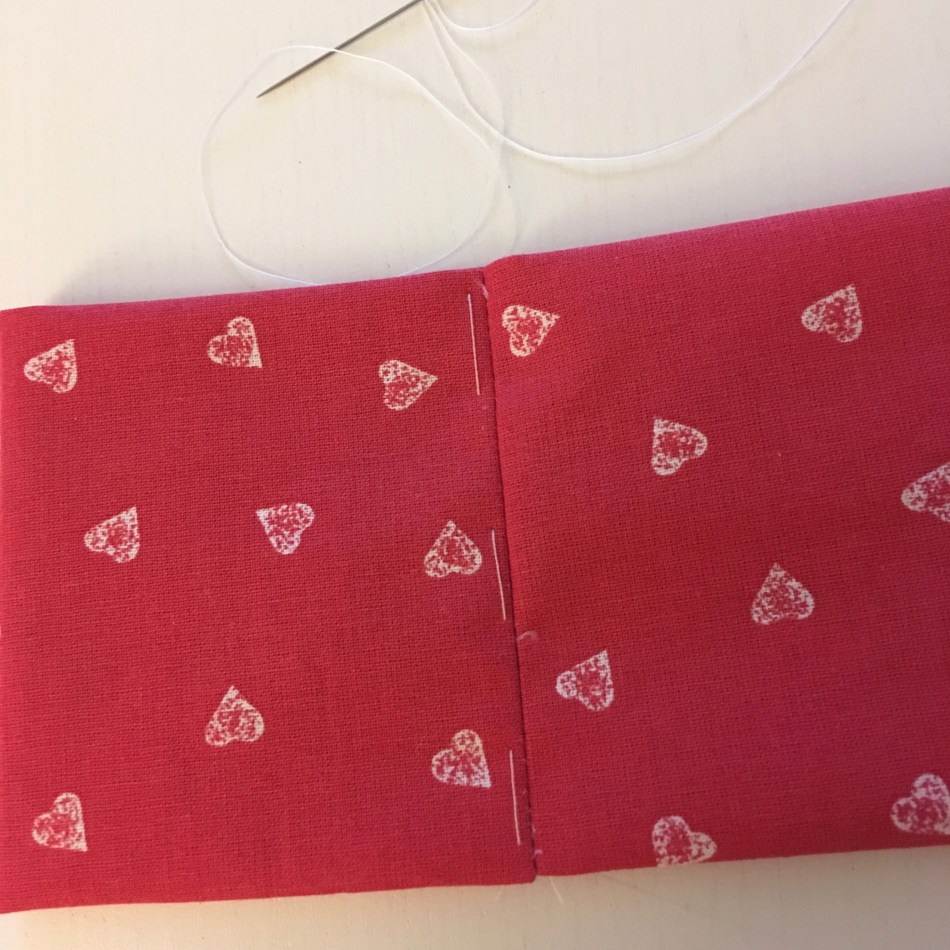
Kiristä lankaa nyt varovaisesti siten, että kangas laskostuu. Voit itse päättää kuinka kireäksi haluat langan kiristää. Se vaikuttaa siihen kuinka pullea tai litteä rusetistasi tulee. Jotta rusetti pysyy hyvin kasassa, kannattaa samalla langalla ommella muutama pisto rusetin keskustan läpi ennen kuin päättelet langan huolellisesti.
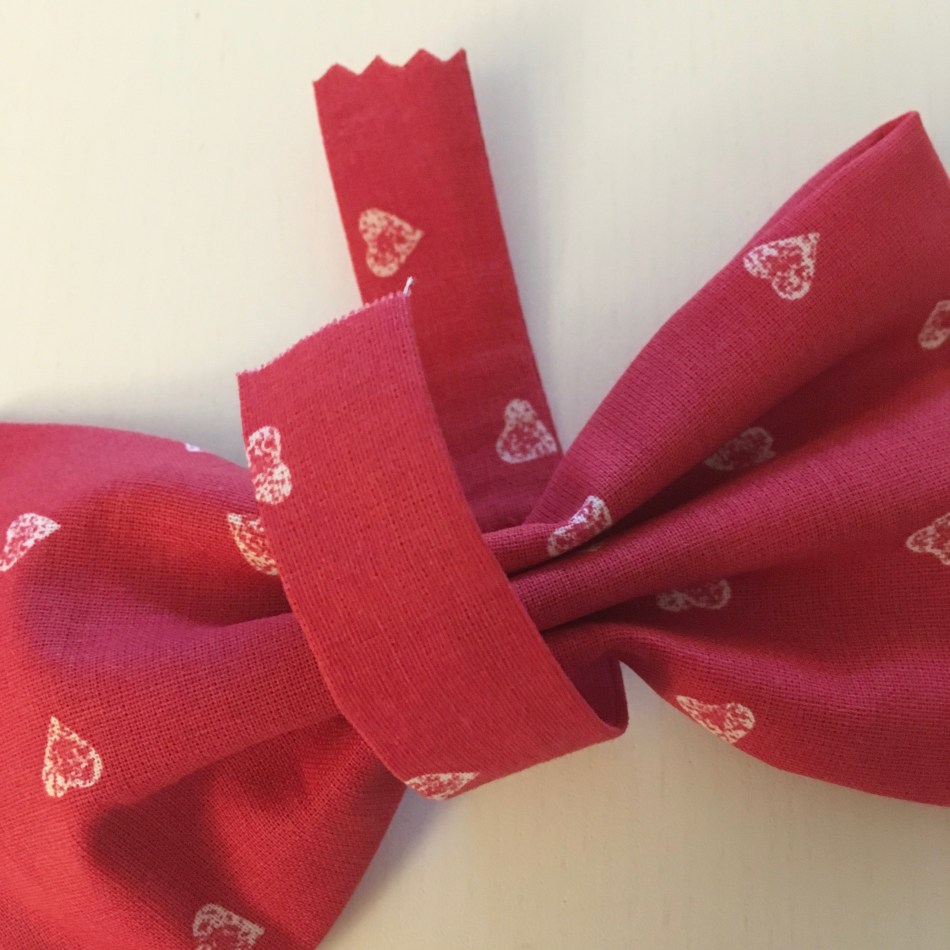
Nyt on aika viimeistellä rusetti kietomalla pienempi kangaskappale sen keskustan ympärille.
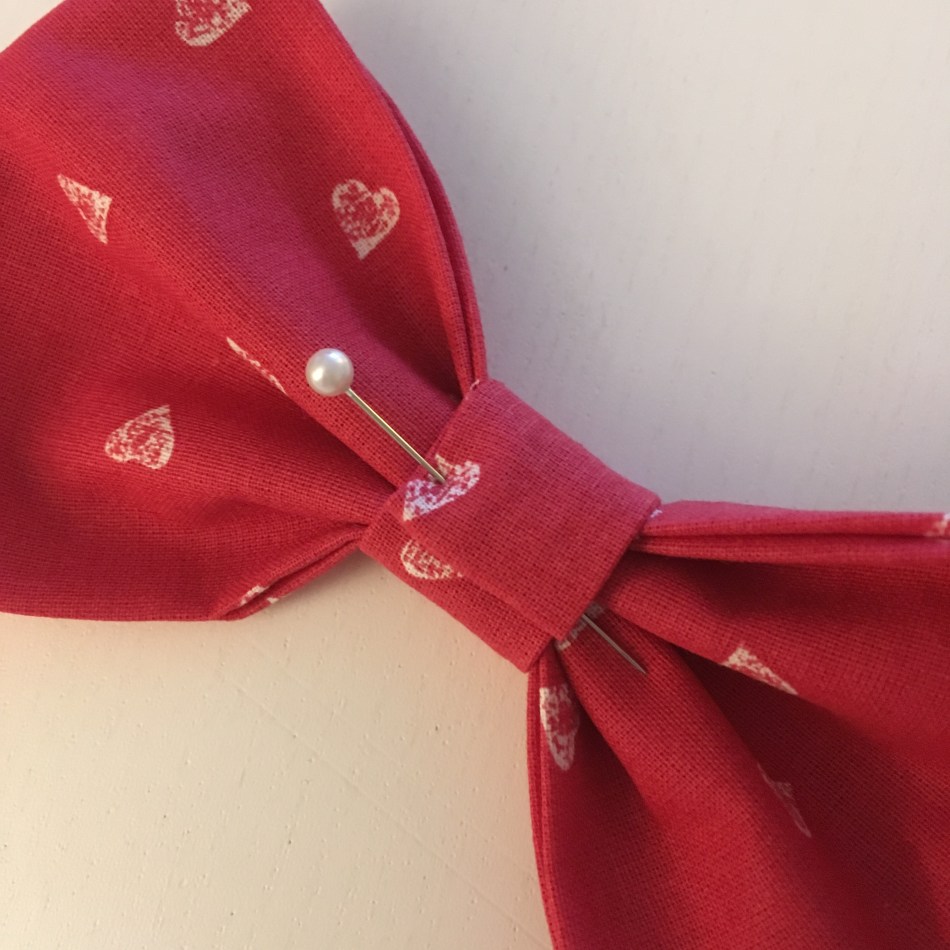
Riippuen siitä kuinka pulleaksi olet rusetin keskustan jättänyt, voit lyhentää tätä keskikappaletta jonkin verran. Itse päädyin lyhentämään sitä omassa rusetissani noin neljä senttimetriä. Kiedo se sitten kauniisti rusetin keskustan ympärille ja kiinnitä nuppineulalla siten, että pää jää rusetin nurjalle puolelle.
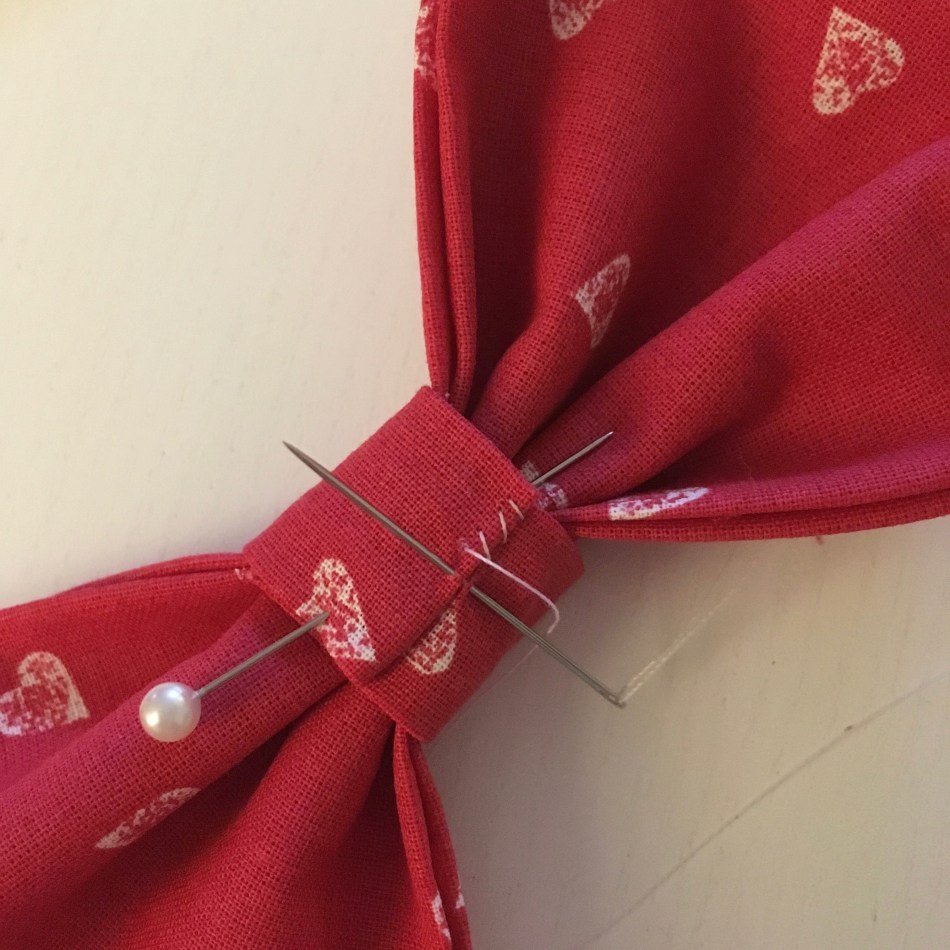
Päädyn voi kääntää kaksinkerroin, jotta viimeistely on mahdollisimman siisti. Ompele seuraavaksi pienin pistoin rusetin keskusta kiinni.
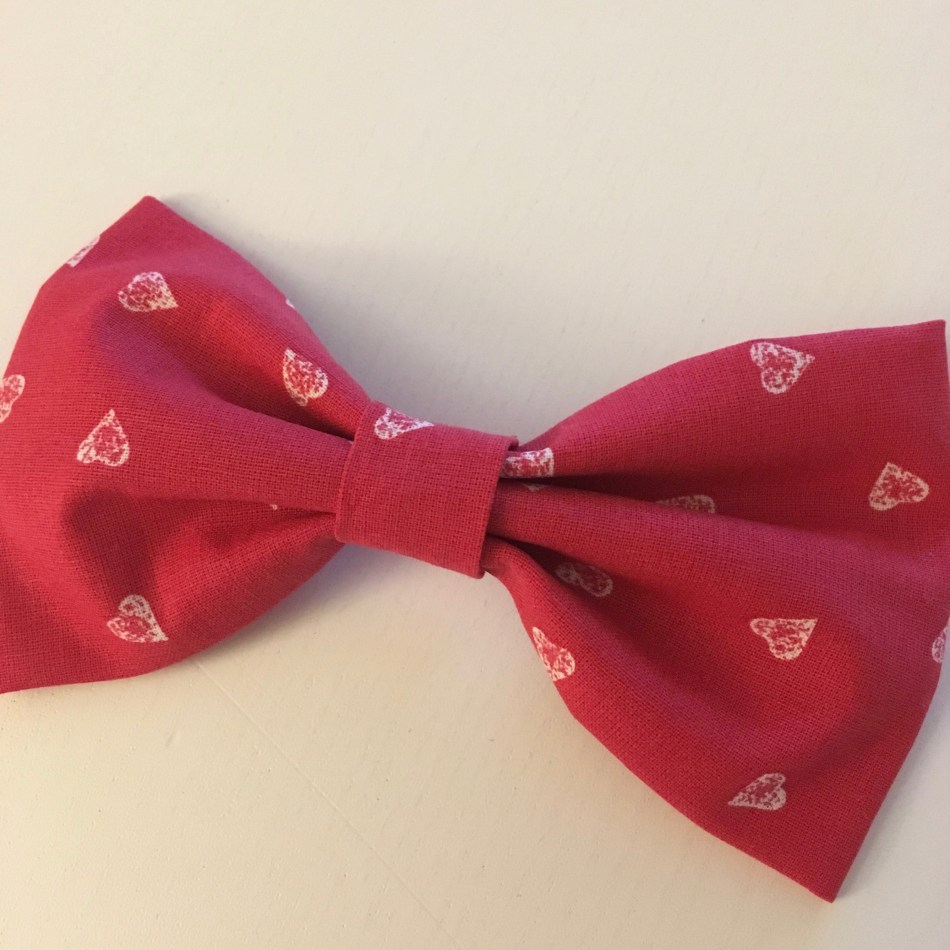
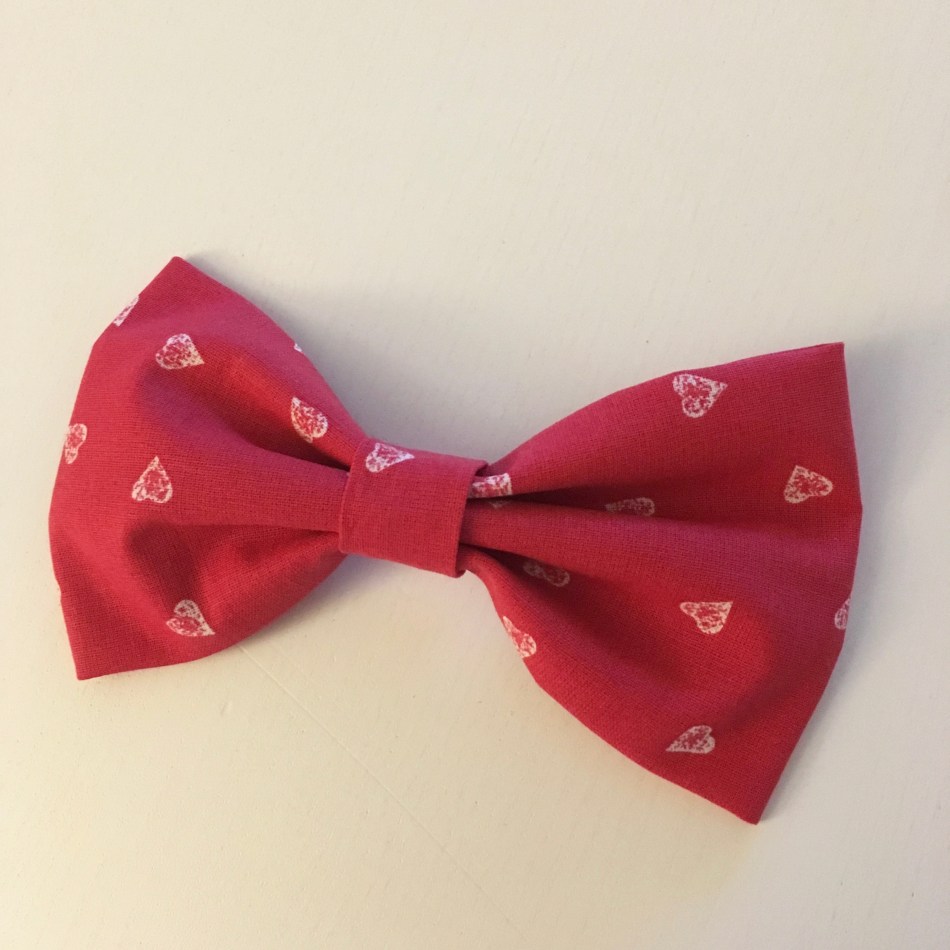
Käännä nyt työ toisin päin ja ihaile kaunista rusettia, jonka olet itse tehnyt!
Tämän helpon rusetin voi laittaa koristamaan lahjapakettia tai joulukuusta. Sen voi myös helposti kiinnitää hiuksiin tai siitä voi tehdä kaulaan kiinnitettävän rusetin pujottamalla nauhan rusetin keskustan läpi nurjalta puolelta.
****************************
As the year closes to end, my thoughts turn towards Christmas. In my Towards Christmas series I will share some happy sewing projects which are perfect to sew for your own, or someone else’s, joy.
Our third quick but happy sewing project is an easy bow.
Start by cutting two rectangles. The bigger one is for the bow it self and the small one will be for the centre of the bow. For my bow I cut two pieces of sizes 30×18 cm and 16×6 cm.
Concentrate first on the bigger rectangle. Fold it in half, right sides together, so that the longer sides meet. Stitch together with 1 cm seam allowance. Press the seam open.
Turn it around and place the seam at the centre of one side of the rectangle.
Now fold this piece in two so that the two open ends meet. You should see the seam (meaning it is not inside your work at this point). Pin in place.
Sew the short ends together with 1 cm seam allowance. You can finish the seam allowances at this point if you wish but it is not necessary.
Press the seam open and turn your work around so that the seams are inside.
This is a good point to prepare the smaller piece as well. Take your smaller rectangle, fold it half and sew long sides together, right sides together. Turn around and press flat. You can choose where you want to place the seam at this piece. It can be placed at the centre or on the side.
You should now have something like this in front of you.
Next we will make the bigger piece look like a bow. For this you need needle and thread. Tie a know at one end of the thread.
The piece will become a bow when it is gathered at the centre. Make few long stitches at the centre of the rectangle. You should stitch through all fabric layers meaning that you can see the stitches also on the right side of the project. I like to start and end stitches from the right side of the bow (that is the side with no seam visible).
Pull the thread now carefully so that you will get some gathers. You can choose how tight you want to pull the thread. Stop when your bow has the shape you would like it to be. To secure gathering in place, make some additional stitches through all layers at the centre of your bow. End your stitching with some good knots.
Now is the time to finish the bow by placing the smaller piece around the centre. This will hide all the gathering stitches as well as the centre seam.
Depending on how tight or loose the bow’s centre is, you can shorten the centre piece a little bit. I ended up shortening it by approximately four centimeters. Tie it now around the centre of your bow and pin in place so that the end is at the wrong side of the bow.
You can turn the end under a little bit to make the finishing as tidy as possible. Hand stitch in place with small stitches.
Turn your project around and take a look a the pretty bow you have made yourself!
This easy bow can be placed to decorate a Christmas present or your Christmas tree. It is also easy to place on your hair.

0 comments on “Joulua kohti 2017: Helppo rusetti / Towards Christmas 2017: Easy bow”